Adventure Project
2023


Introduction
Over the course of just under 2 months, I designed, created, and polished a level with some small gameplay features. The project itself was for a class during my undergraduate program where we were tasked with making a level from scratch that stuck to a specific creative vision. Throughout that class and the next, we would iterate on previous versions, slowly finalizing the level from a blockmesh to a finished level with assets. Additionally, we were required to work together on teams to combine our individual levels into one cohesive game. Throughout this process, there were some fantastic moments of learning and creativity, as well as some hard setbacks that were somewhat depressing.
What went right
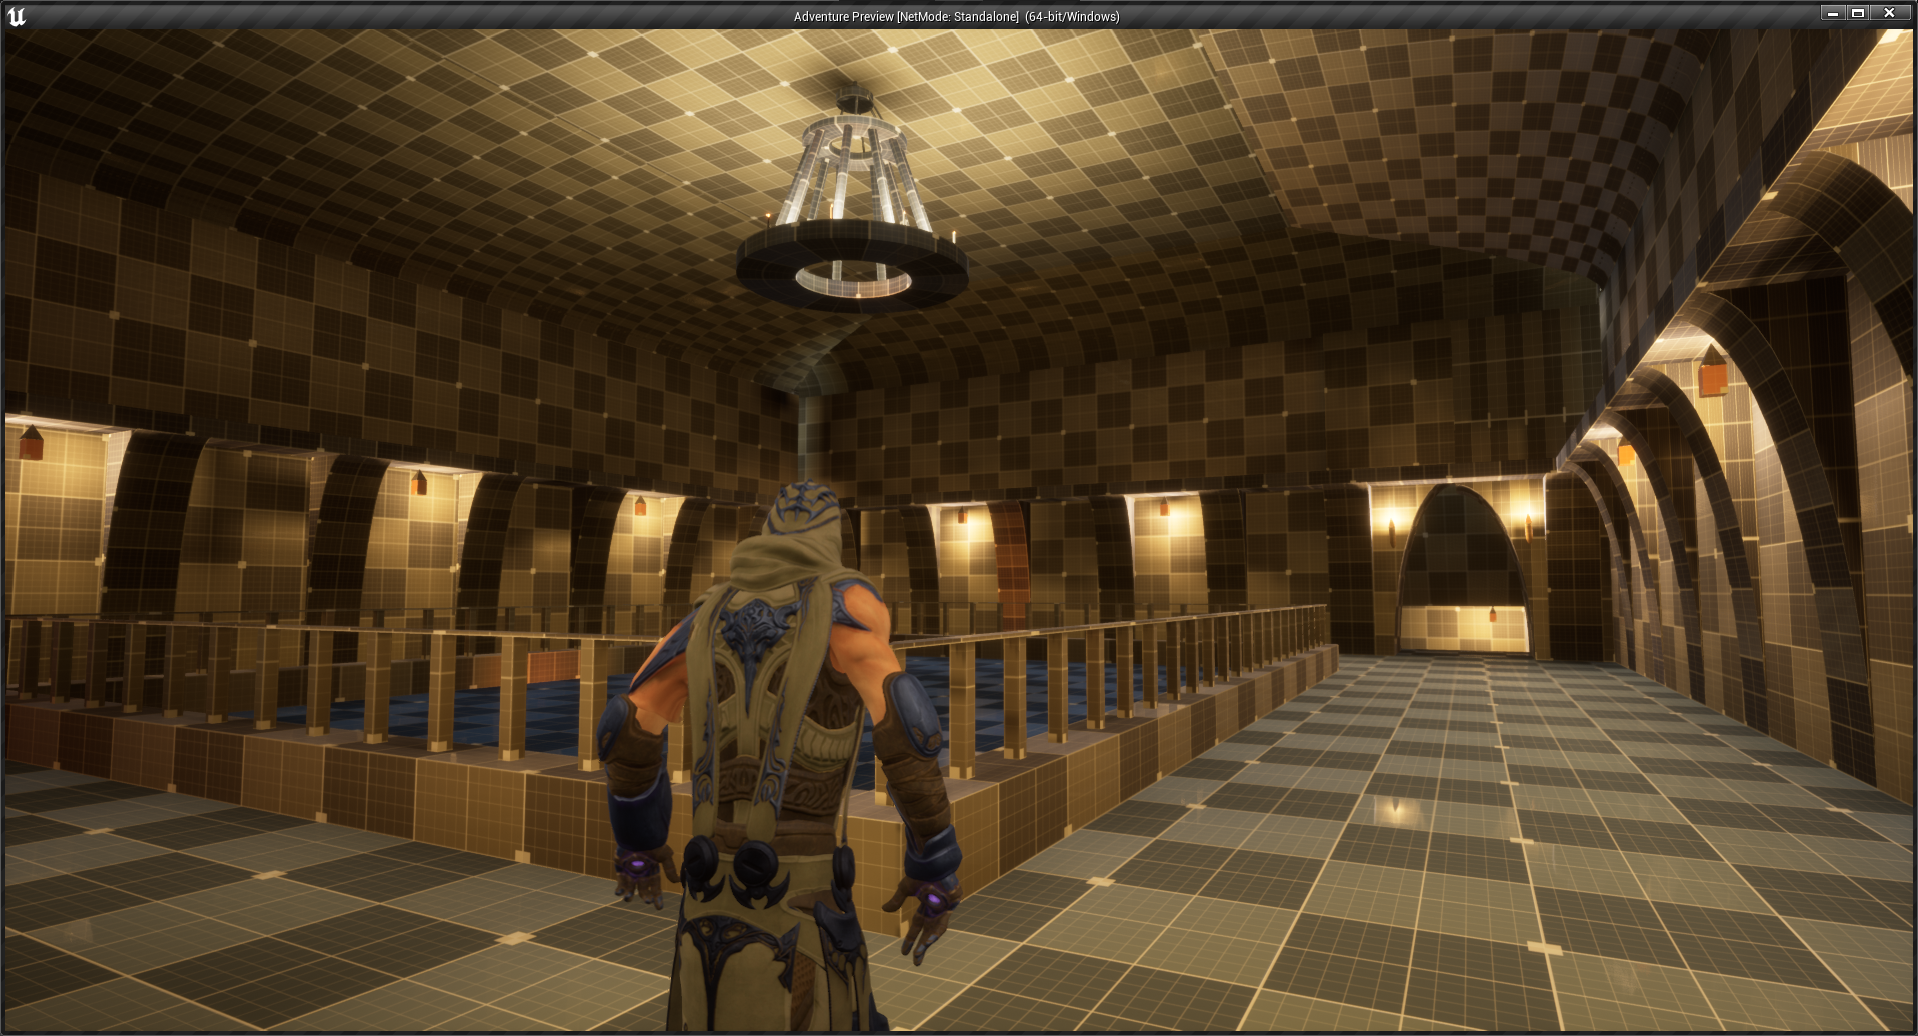
The inner bath and its inspiration
When I was creating my moodboards, I was having some trouble coming up with a new and fascinating focal point. After wracking my brain for some inspiration, I remembered a trip I took to England back in 2016 with my family. We did the usual tourist things of visiting London and Stonehenge, but we also stopped by Bath. Bath is a city in Somerset that is named after the Roman baths that were built there. The actual baths themselves were in fair condition, and the largest one had been preserved extremely well. That bath is the one that came to me when thinking through my focal point. It is a large, rectangular bath with a walkway around the edge with no roof, making it open-aired. I thought that the shape and design of the bath would serve as good inspiration for my own “Roman bath”. I used the photos I had taken while on the trip as reference and modeled a bath that was extremely similar to the old Roman one, the only real difference being I made my bath enclosed, and gave it a basement. The bath came out amazing and I received many compliments on its design. I’m very proud of how it turned out and of how well I used reference photos to make something realistic.
.png)
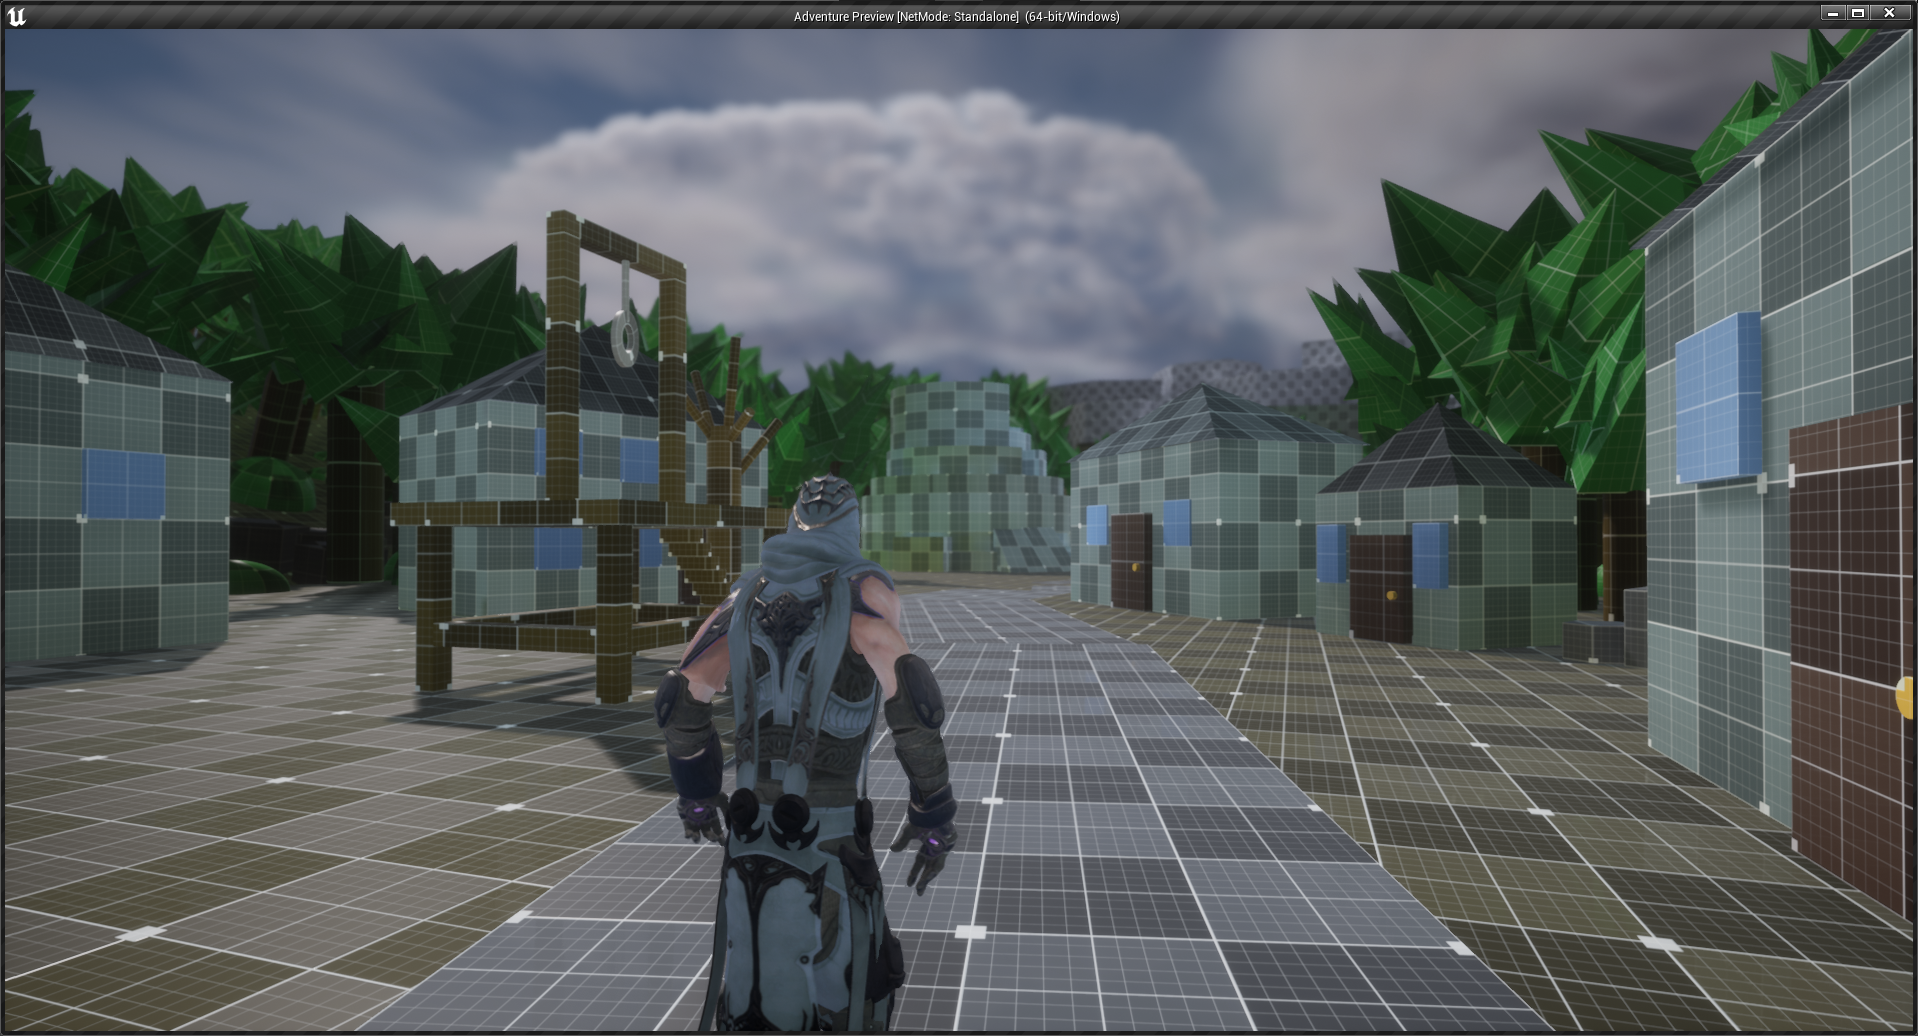
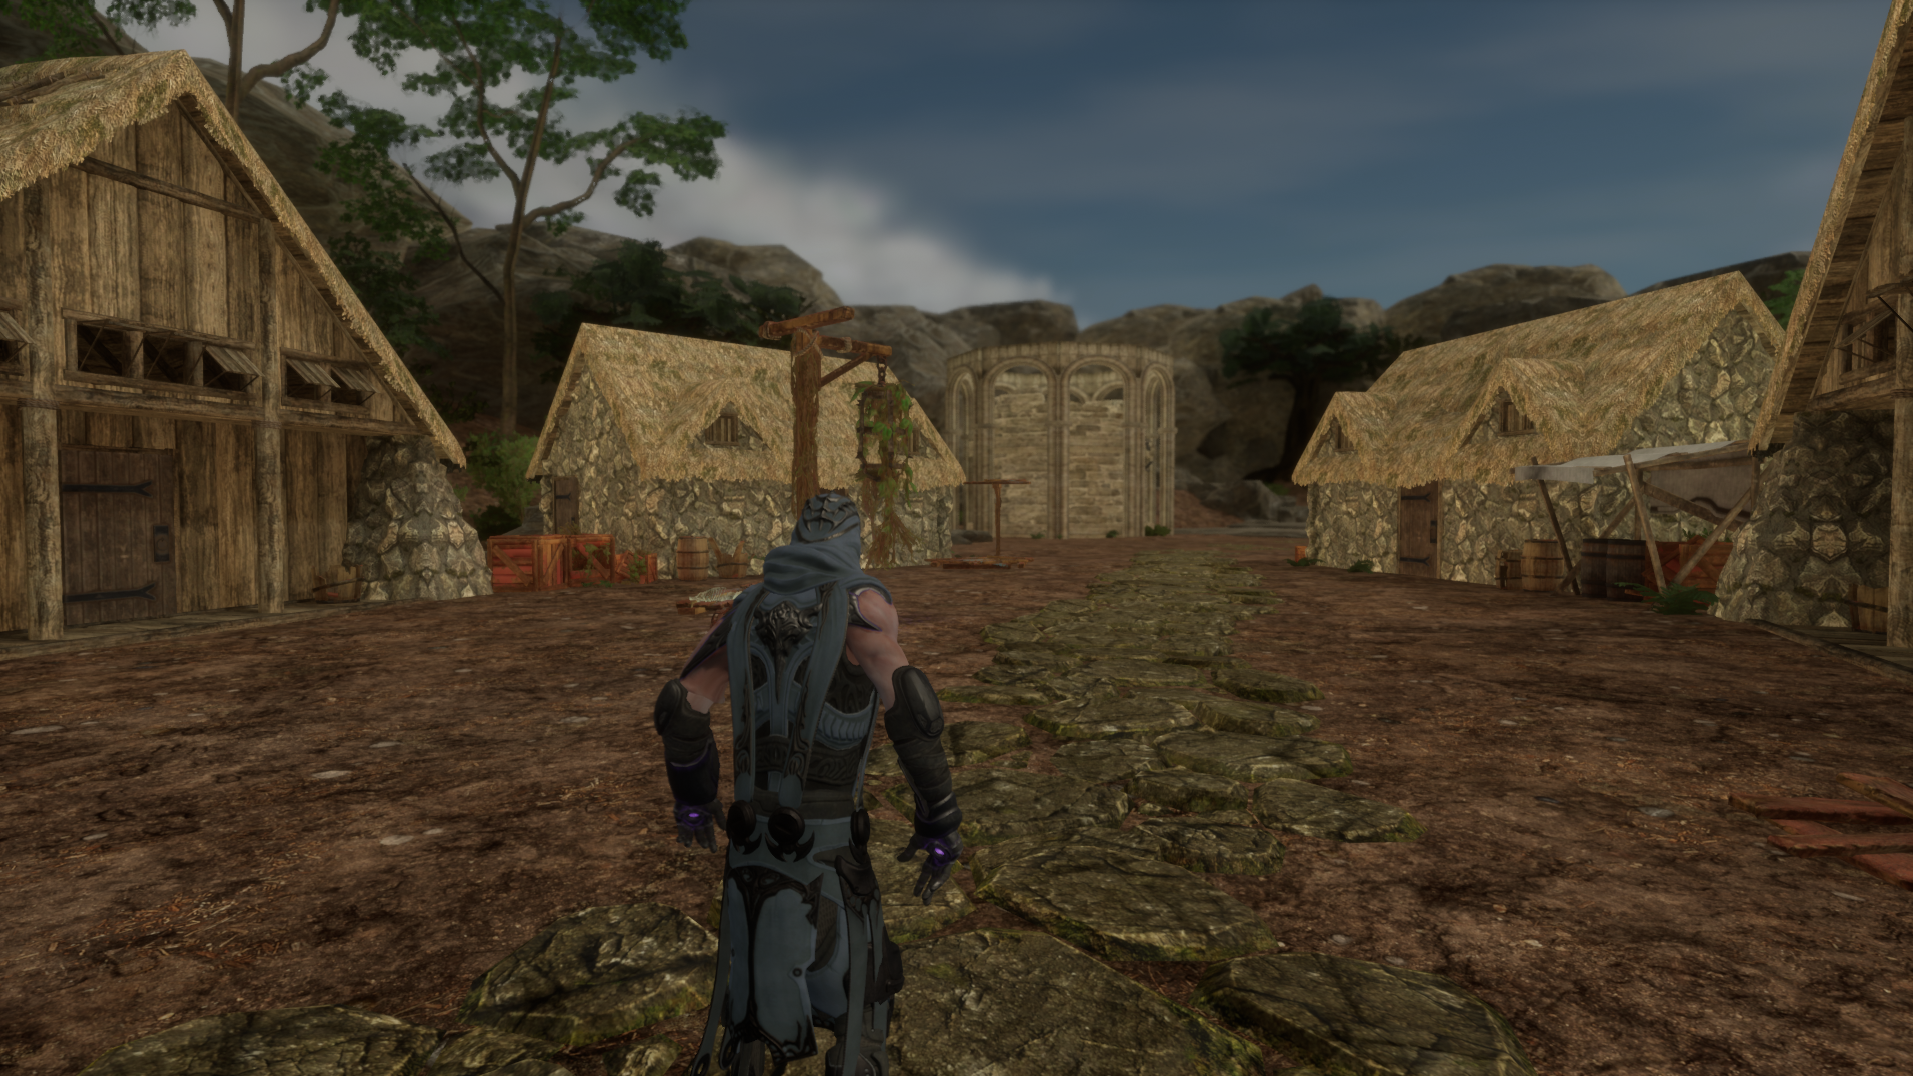
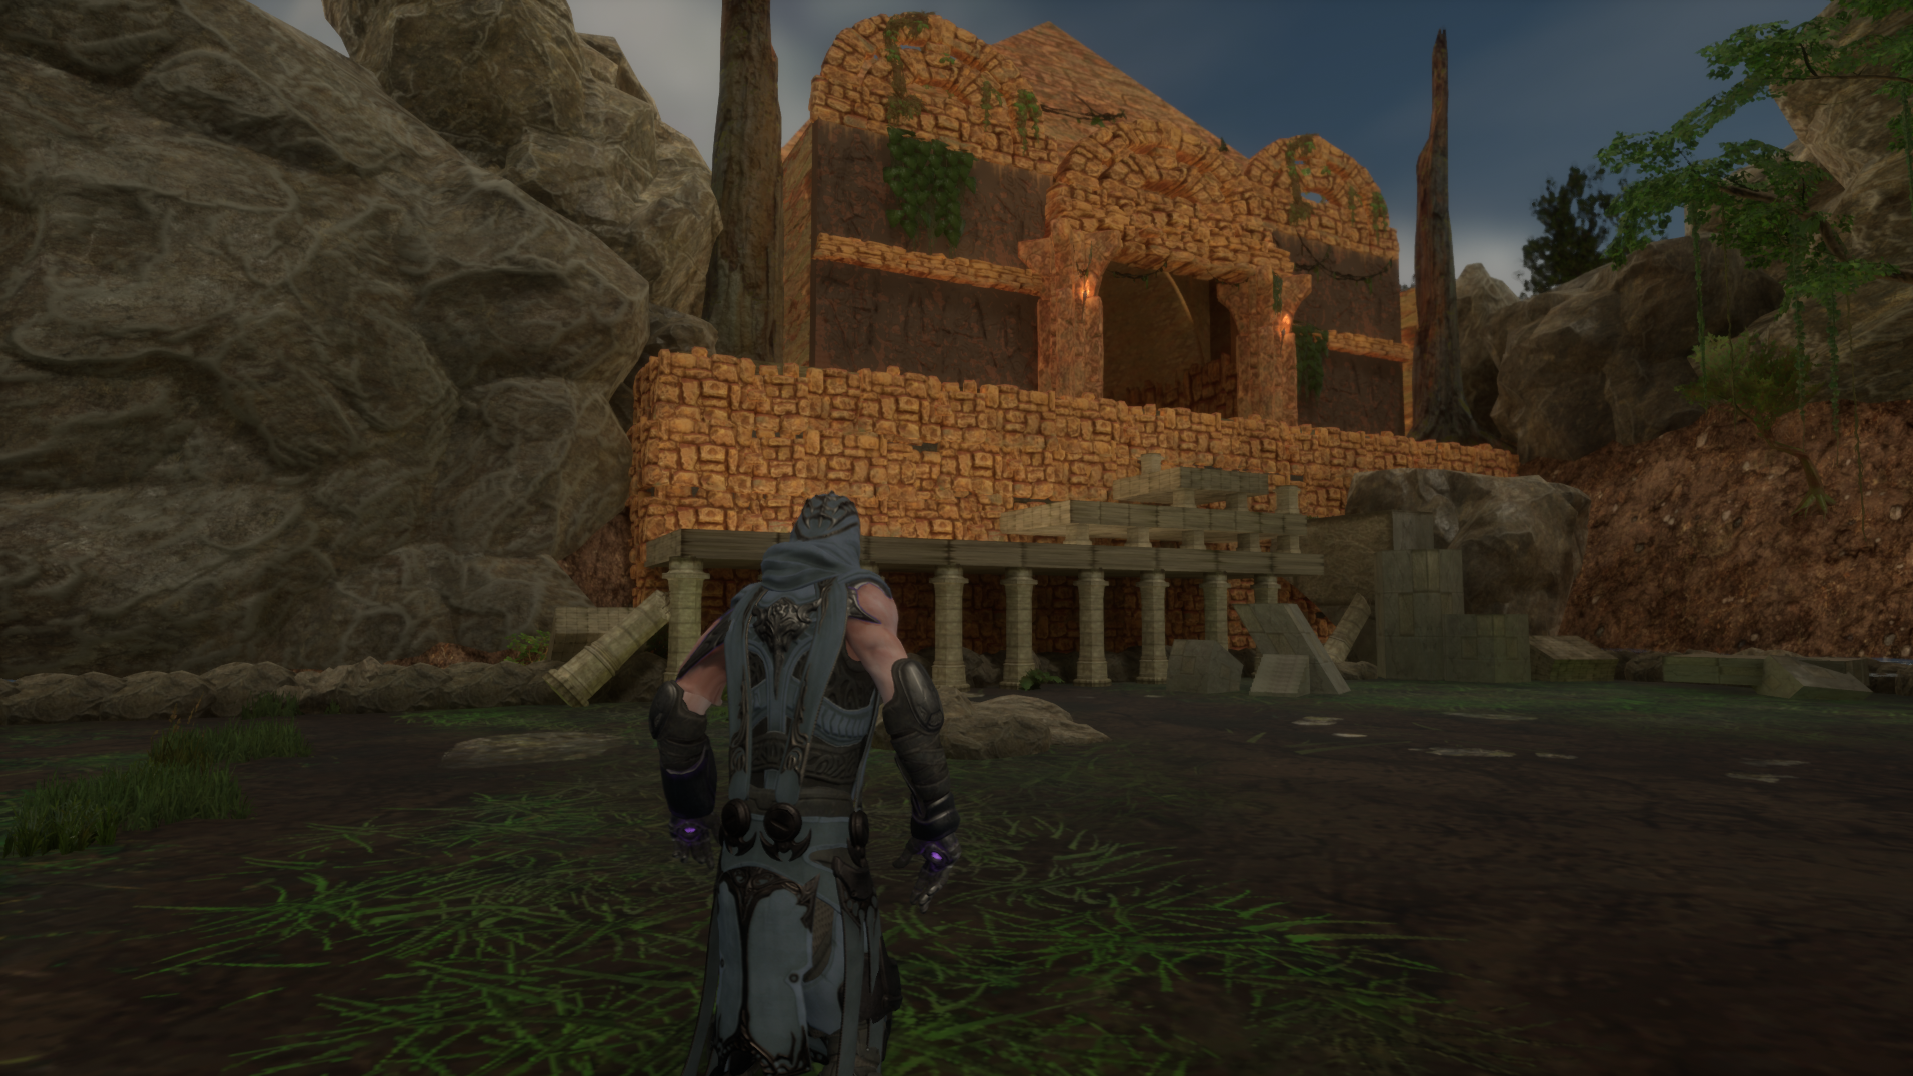
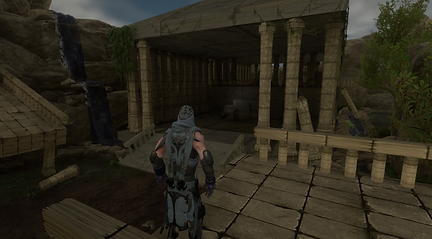
The second ruin
Similarly to my focal point, my starting area had some issues in the beginning. Originally, it was much shorter than the final product. After realizing my level wasn’t long enough, I did some brainstorming as to what I could put into the beginning of my level that wasn’t just more rocks and trees. Going back to my England trip and Roman bath, I decided on an ancient ruin with a Roman-esque vibe to it. I added in some gameplay in the form of jumping up some rubble to give the area more excitement. The ruin itself also helped me develop the “lore” of my level, as I was able to add in a collectible to the area. Additionally, I wound up converting that ruin to my valve instead of using just a boring cliff; the player hops down from the second floor of the ruin instead of jumping down some boring rocks. The process of adding in the ruin was difficult, but it helped me understand the idea of level design more.
.png)
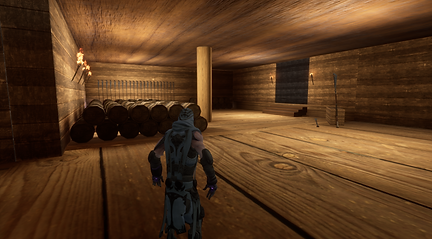
Collectibles and “lore”
Our levels had a few restrictions, one of the big ones being no NPCs or other living beings were allowed. This meant that any lore we were building had to be done solely through the environment. In the project files we were given, there was a collectible Blueprint available for us to use. It would display a prompt for the player to pick it up, as well as displaying a custom name that the designer put into it. I used three different lore collectibles, along with a key, to set a scene inside of my level. The player collected a shattered crown, dented helmet, and broken necklace as they progressed through the level. The shattered crown was found on the throne inside of my first ruin, the dented helmet was tucked into the corner of my cellar near some spears, and the broken necklace was found beneath an interesting cage asset I found, accompanied by a skull and other skeletal remains. As the player moves through my level, they can infer that the people who lived there previously left for some reason, maybe due to a corrupt leader or mysterious tragedy. Additionally, I added in a key that is used on the gate inside of my cellar. Being able to add in these fun details helped give my level some life and kept the player interested in what was coming next.
.png)
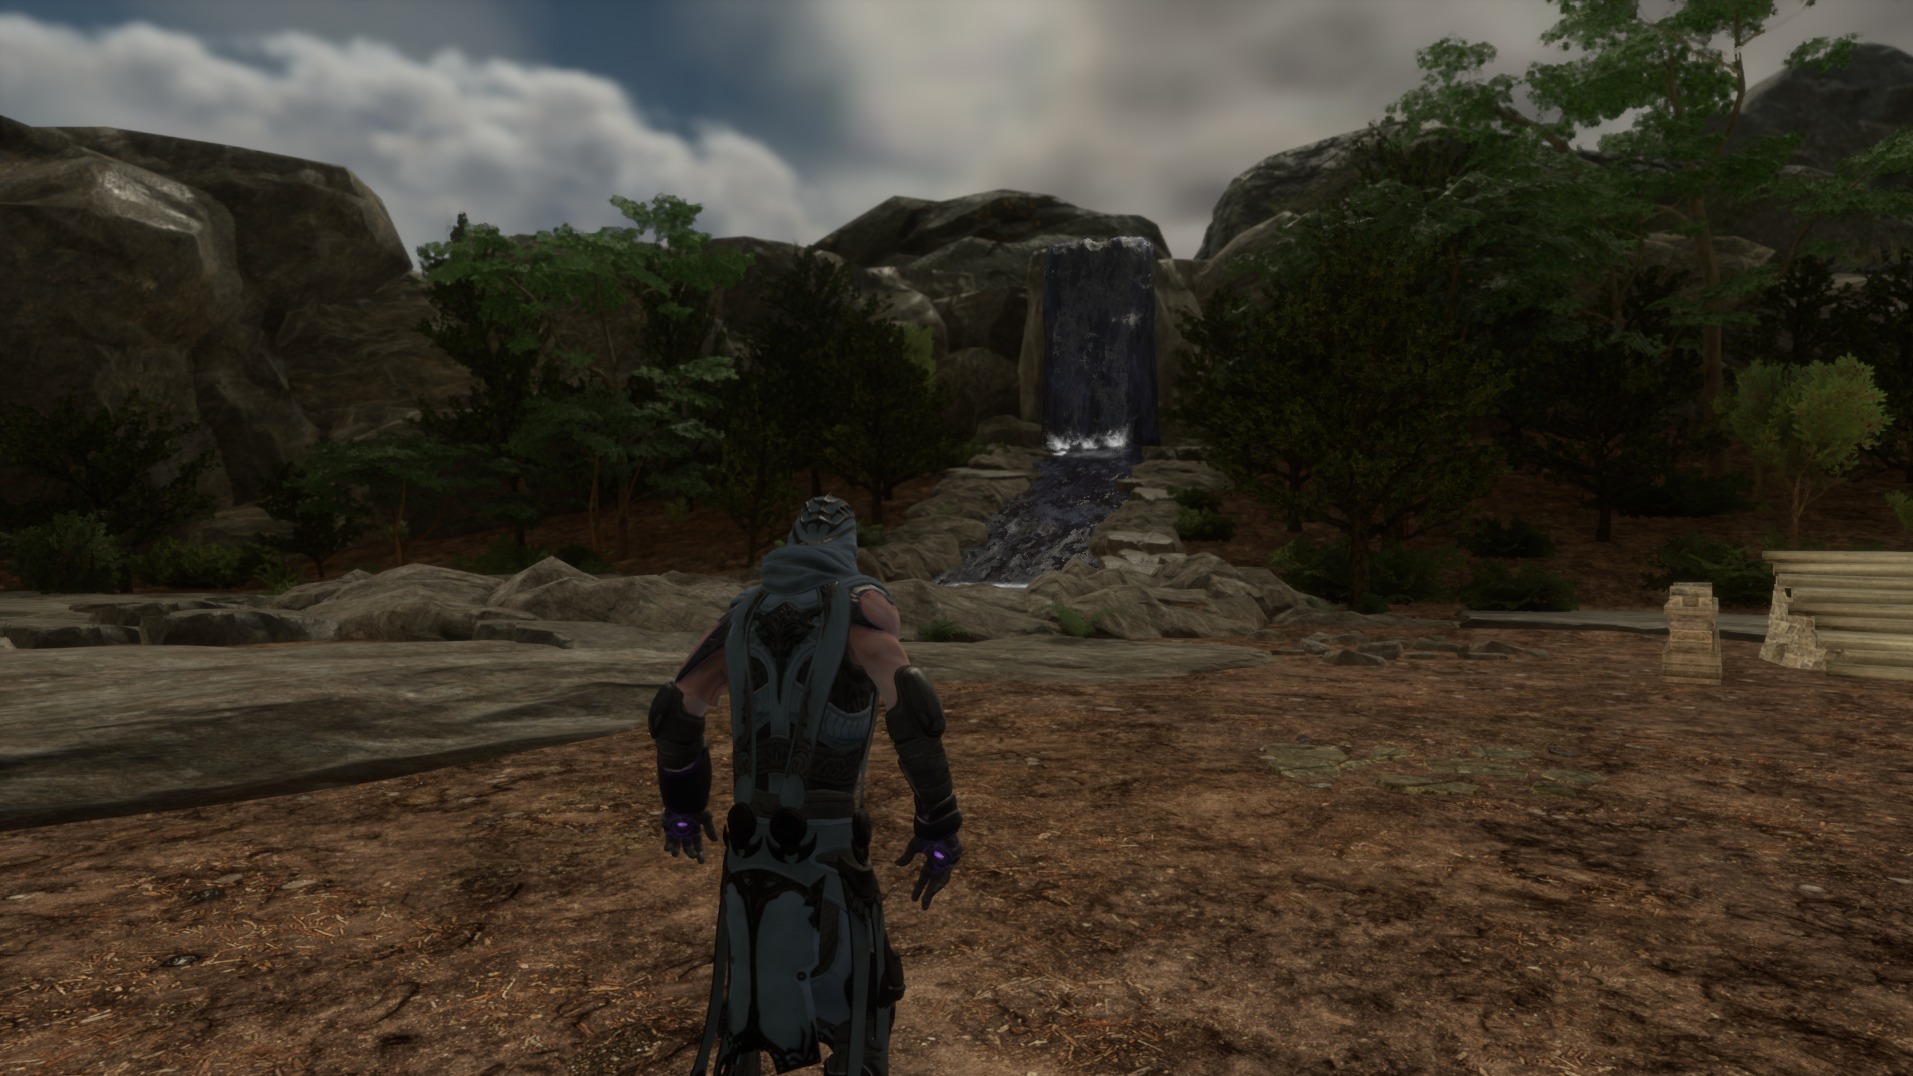
Waterfalls
Planning a waterfall is easy, executing said waterfall is not. I struggled in the beginning with adding in some water features (other than my bath). I added in 3 waterfalls with varying degrees of success initially. I tried to use different materials to create them, as well as using a procedurally generated water system, but found it was all too confusing or frustrating. In the end, I decided on my ability to make illusions. I used the given waterfall asset and then used it to make a river. The lake I created was a water material, but the waterfall that flowed into it was two of those assets combined to make it appear bigger. Towards the end of the project, I found some water splash effects and sound effects to add to my waterfalls. Placing the splashes was difficult, but it was a great learning experience. The sound effects caused me some problems, but I was able to fiddle with the settings and make them sound realistic. In the end, I’m proud of how the waterfalls turned out, and I think adding in the splashing and sound effects helped make my level more immersive.
.png)
The lift
The part of my level I’m the proudest of is the lift I created in my cellar. Originally, the player simply jumped down a hole in the floor to return to the gate. While working in the alpha stage, I wanted to push myself to add something more exciting than just a hole. I used my previous experience from a scripting class to create a platform that was overlap triggered. When the player steps on the lift, it takes a second to descend before lowering the player to the floor. It then rises back up with realistic physics. It was a nice learning stretch and was a great way to apply some things I had learned. I had an issue with my lift when building our project, so I had to do some troubleshooting to ensure it moved correctly in the final build. All-in-all, the lift turned out fantastic and works exactly how I pictured it would.
.png)
What went wrong
Starting out and spacing
The hardest part of any project is getting started. This project was honestly almost impossible to start for me. I had my moodboards done and I had a vision in my mind, but translating it into SuperGrid blocks in the void was really tough. I floundered for a few days trying to get a layout together that I liked and that fit the spacing requirements. My level started off too small, but began to quickly grow as I added in rock walls to prevent the player from breaking out and escaping. It took me a while to translate the vision in my brain into the blocks in the level itself. I wasted a few days just staring at the empty level wondering what to do and not knowing how to do it. It set me back, to be honest, but I was able to drag my feet and get past the initial roadblock.
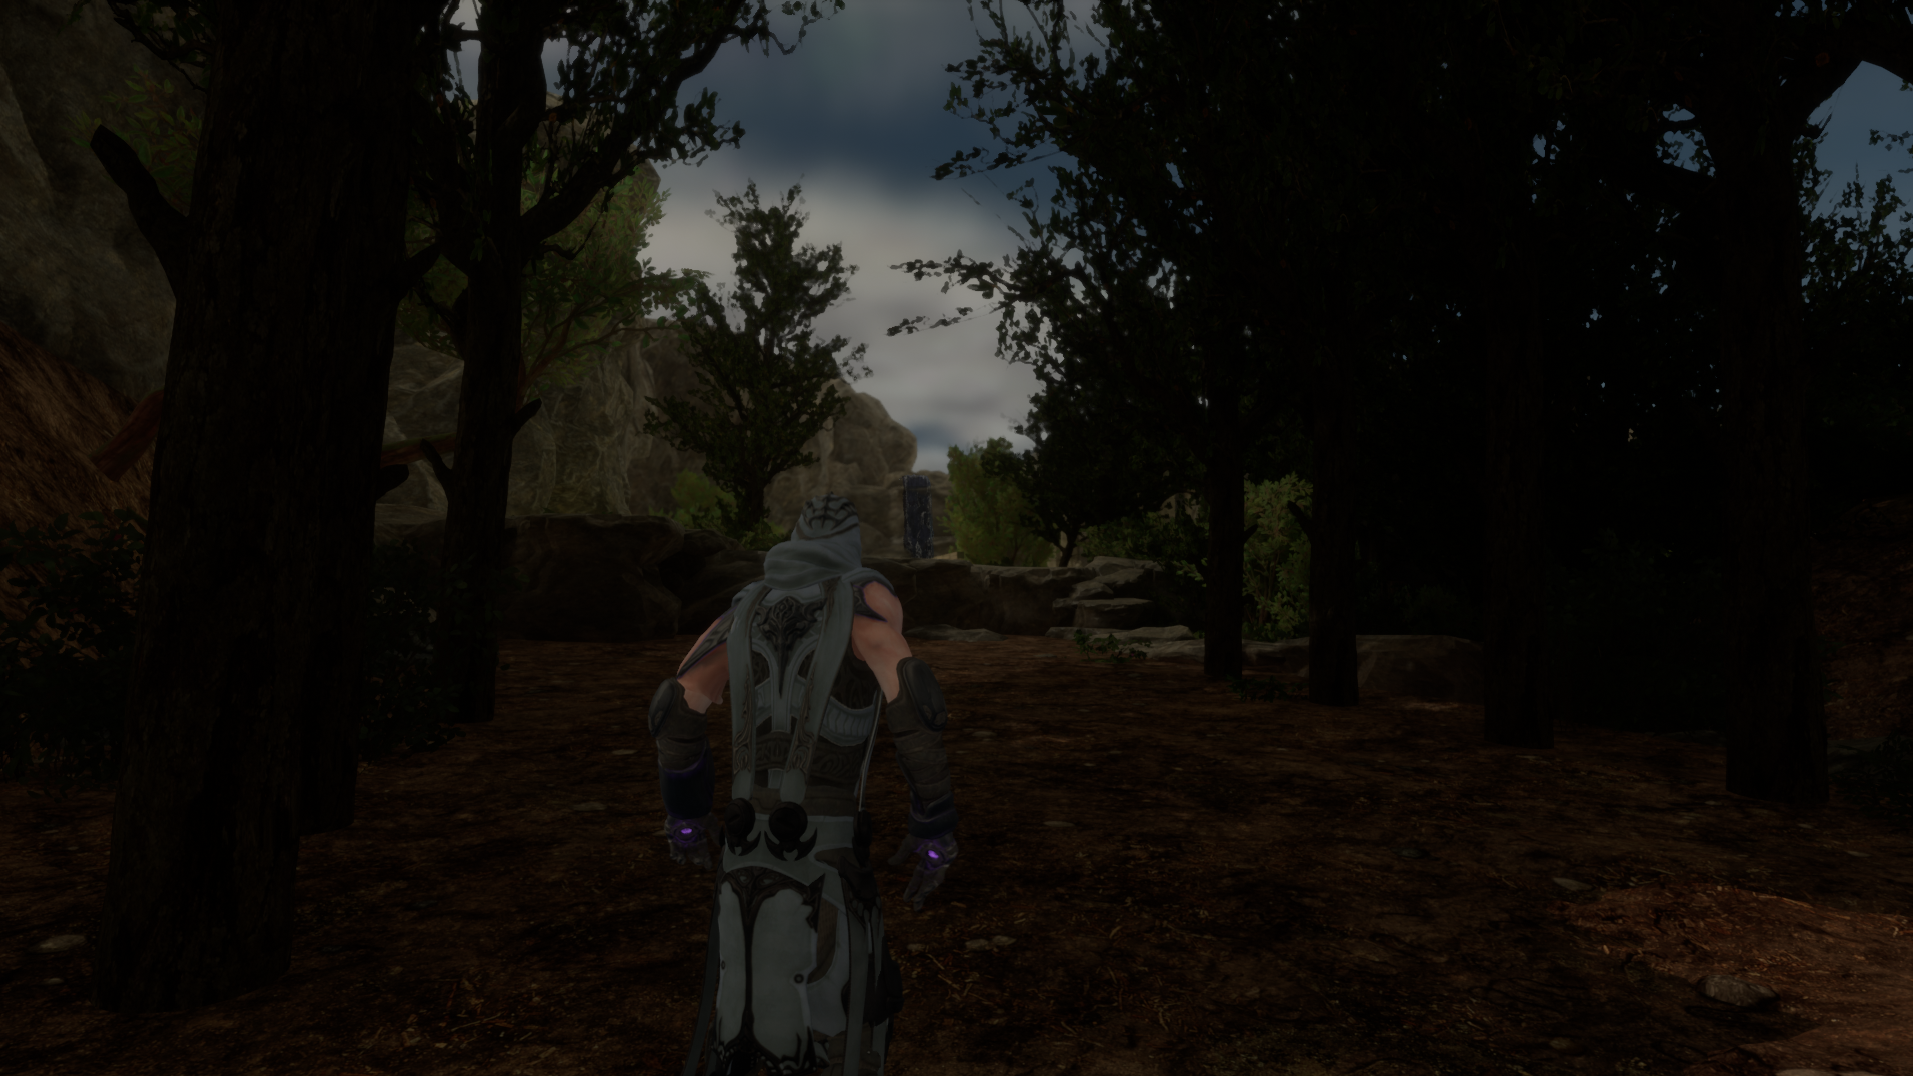
Horror? Well…
The shared creative vision for this project was an exploration-focused adventure level. I wanted to try to add in some sort of horror element because I am a huge horror fan. My initial plan was to make my beginning forest dark and scary to set a mood for the rest of the level. My endpoint was based on the well from The Ring movie. Despite my best efforts, horror was just not happening. The lighting was the biggest issue for me as we weren’t able to change the brightness or time of day for the project in the beginning. I decided to make my forest darker by adding in more and more trees, which proved to be a major issue. When adding in assets, I would get constant warnings from Unreal about UV issues with the actual static mesh. I finally bit the bullet and surrendered most of my horror theming. I kept the well as it still fit with my final area, but the level is definitely more adventure-esque than horror.
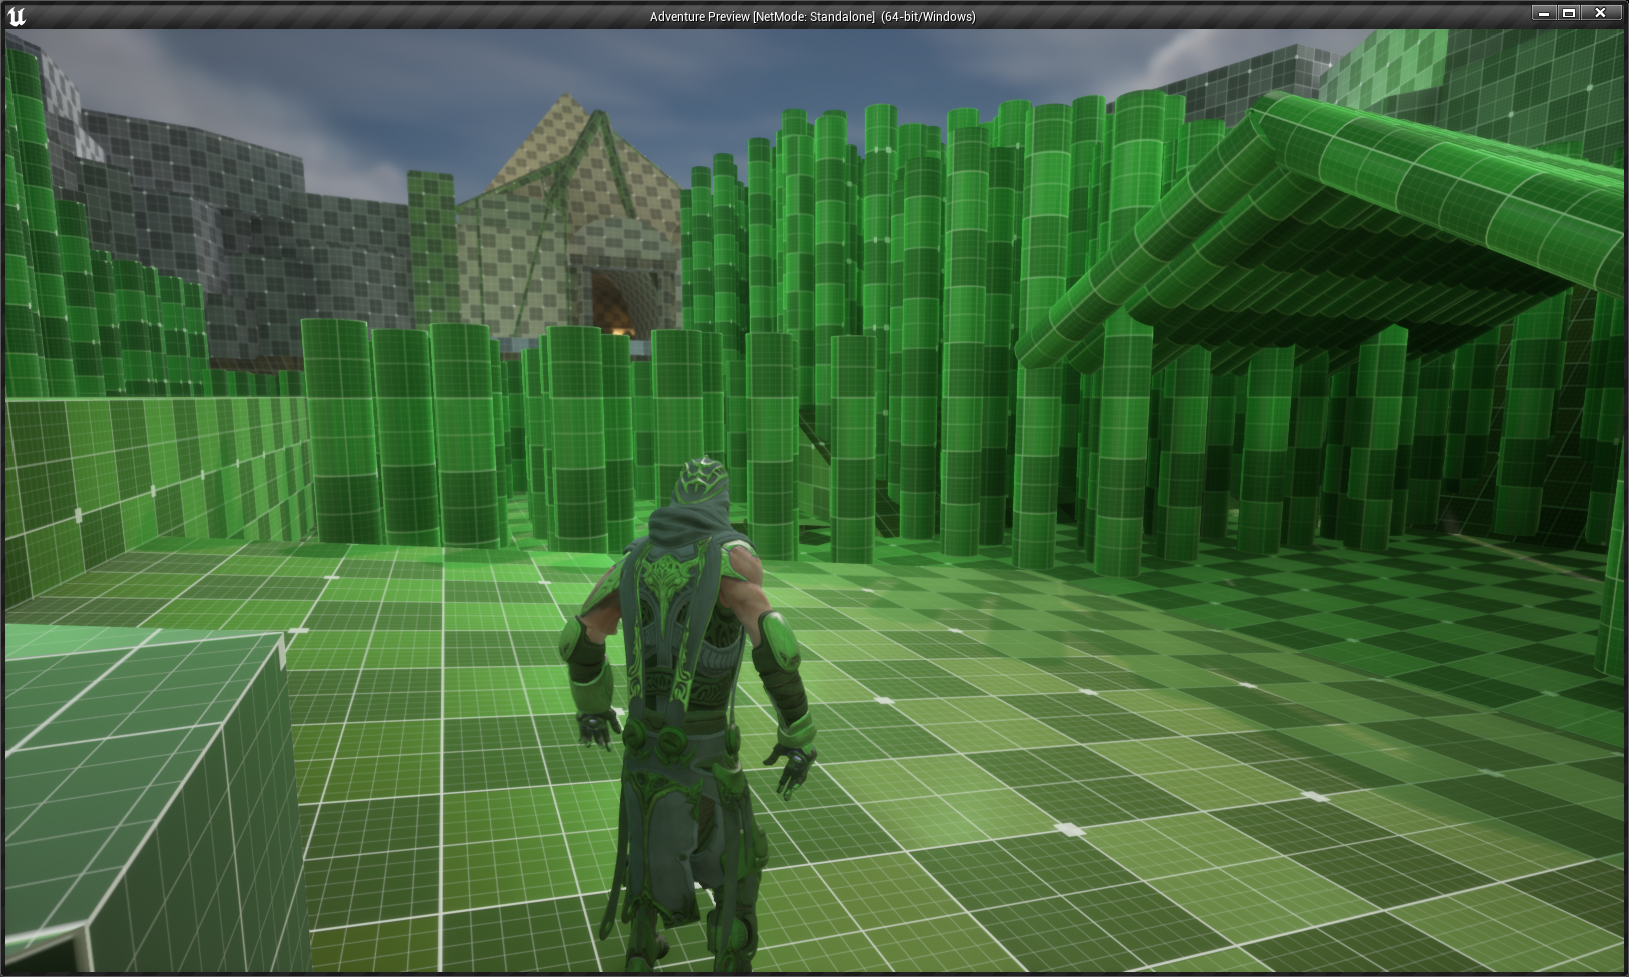
Bamboo trees
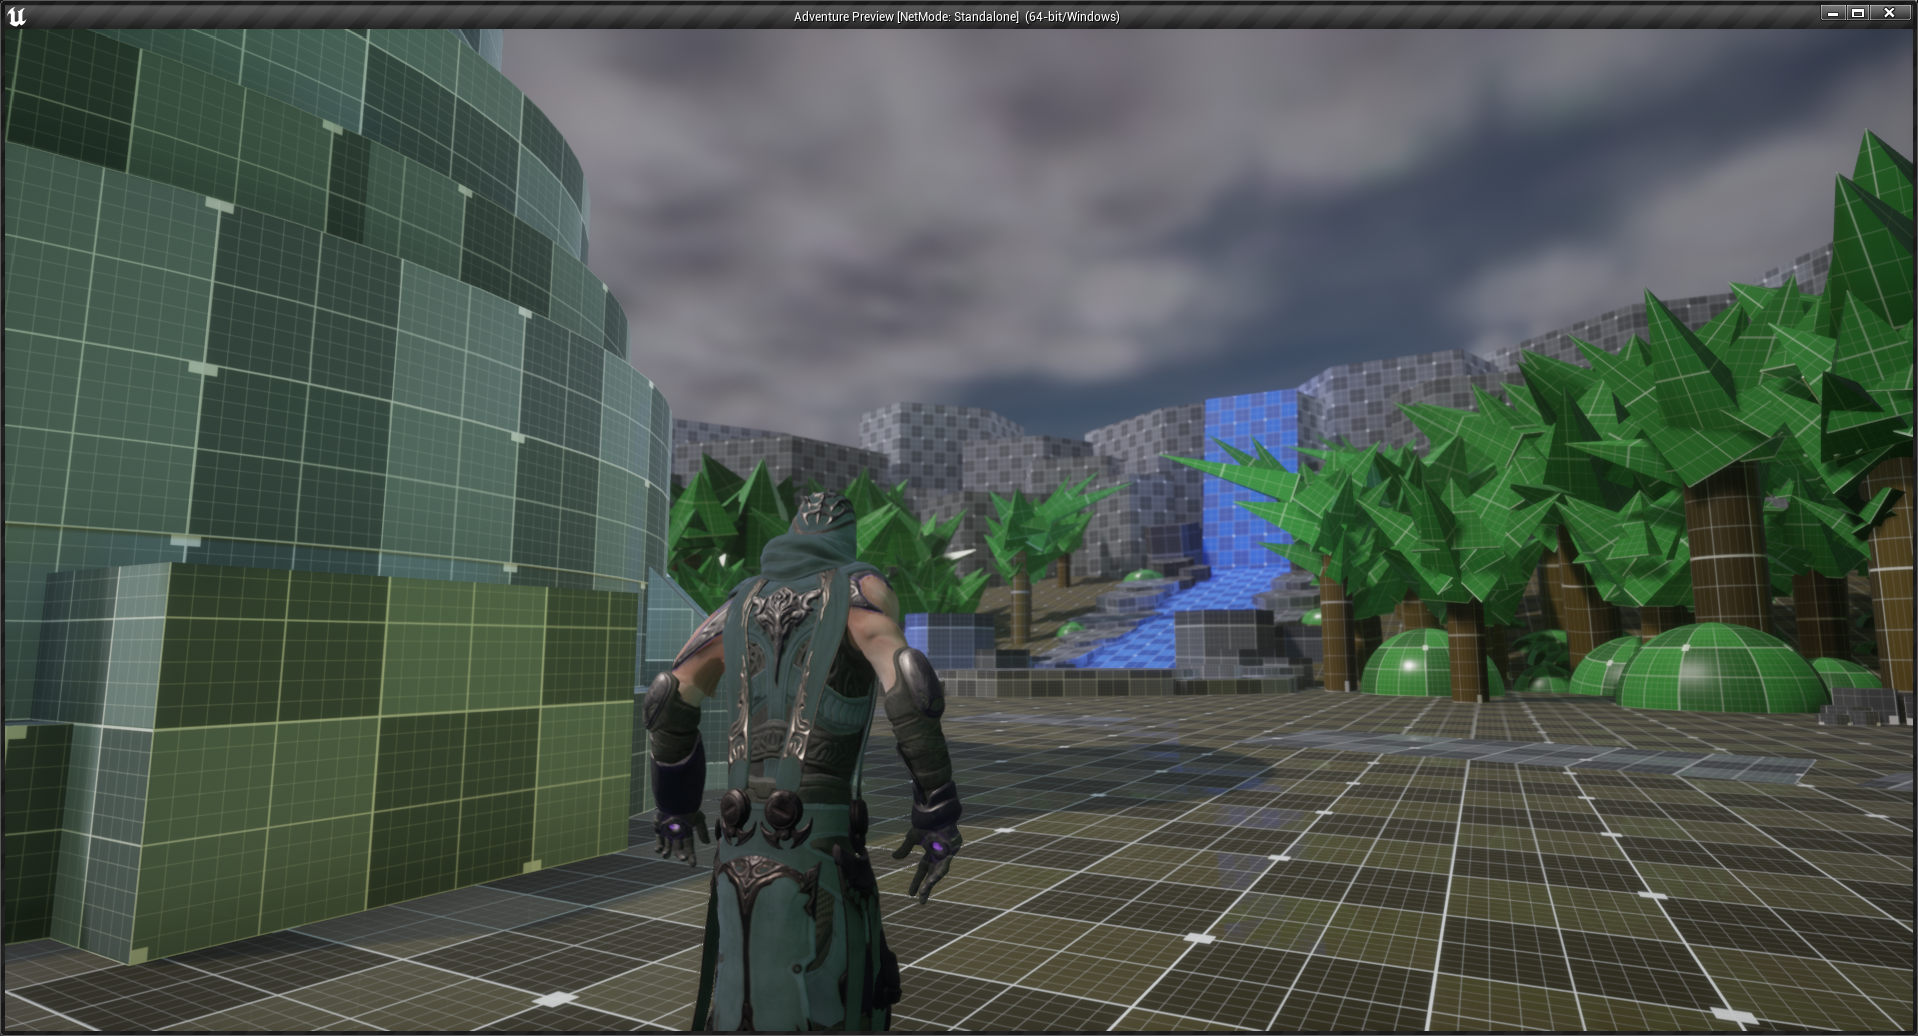
My prototype trees were described by my friends and colleagues as “bamboo”, despite my plan to make them oaks or maple trees. I used plain cylinders with a green material on them to block out where I wanted my trees to go, but that wound up causing some lighting issues. The green of the material was reflecting in a weird way that made the entire area glow green. The “bamboo” also stopped me from seeing a final project in my level, as all I saw was just green tubes of three different heights. I wound up replacing the tubes with rough static meshes of trees I had made, but the early stage of my level was mostly Mario tubes.

Perforce learning curve
This project was my first time really working with Perforce. It was definitely a learning curve. On paper, I understand Perforce, but trying to actually use it and implement it with Unreal was a bit troublesome. I would forget to check out my files when editing them, or would forget what I had worked on when writing up my changelog description. Additionally, my habit of saving almost every two minutes didn’t work after I’d already submitted my changes, as I would have to check out the files again to save them. It took me about a week to understand Perforce enough to be comfortable with it. I had some issues with storage, so I had to migrate my entire workspace from my C: drive to my D: drive. It was rough using such a daunting program, but I feel that I’ve learned some more about it through my struggle.
Textures (migrating and that cursed dirt)
Finally, I had a few issues with materials and textures not migrating to the content folder, so I had a few static meshes that were completely untextured. I had to do a lot of troubleshooting as, sometimes, the file would show up in Unreal but not in Perforce. On top of that, one of the materials I found for dirt had a weird habit of flickering and glitching out after saving and submitting it. Some builds would be perfectly fine while some builds would have flickering floors. I never figured out exactly what was wrong with the material, even after re-importing it many times. In the end, I just did my best to cover up any large areas that would flicker obnoxiously or just avoid using it when possible.
.png)
Conclusion
This project has been both fun and frustrating. I was able to put my skills to the test and push myself pretty hard while still being able to enjoy the process. I’m very proud of how my level turned out and, now that I understand the process better, I am definitely more prepared for any future projects like this. I’ve become much more familiar with Perforce and Unreal engine, and I now know how to start and create a personal level, even if it won’t be exactly the same as this. I’ve gained some new skills and refined some old ones, and I had a fun time watching my level go from stock image photos in my moodboard to a playable space in the game.